For me one of the most depressing things is to go up a small tropical river to watch the monkeys, birds and see all the incredible orchids, epiphyte air plants, iguanas and things in the trees only to look down and see piles of plastic bottles and other garbage that has floated in. Or to go to an isolated beach on the Caribbean that not a soul has obviously visited for unknown milennia except it too is covered with discarded plastic, old shoes and other refuse that the tides carried in. Not only does it make me sad, it also makes me mad. So this section will hopefully inspire you and others to contribute thoughts and ideas you may have along with the ones here.
I will start this with items that are easy and functional so you may come up with other ideas for practical uses to pass along. Then I will move on to other fun and artistic uses that maybe you can pass on to a local villager for a possible way to make a little money to feed their family and give them a reason to think twice about throwing that bottle down.
Without getting into too much, you can start recycling plastic bottles and cut down on your electric bill simply by filling unused space in your freezer and refrigerator with refilled bottles of water. The frozen ones are great to use as ice in your ice chest and to drink as they thaw. By filling unused space in your refrigerator, the cold bottles maintain a cool temperature that your compressor doesn't have to turn on as often to maintain. Check back here often as this page is under construction and I have a ton more things you can make.
Adding to the appeal of the simple technology, the houses are ideal for the hot climates because the bottle bricks buffer the buildings from the intense heat. Also, in a place known for earthquakes and some violence, the houses are more earthquake safe than conventional cement block construction and completely bullet proof. Bottles are mostly sourced from tourism and floating ocean currents, so the 500 million bottles that are discarded each year are literally finding new homes instead of landfills or the ocean. Traditional building shapes are possible but the circular houses look cool too with the exposed round bottles producing a unique design. Click on the home for more details.
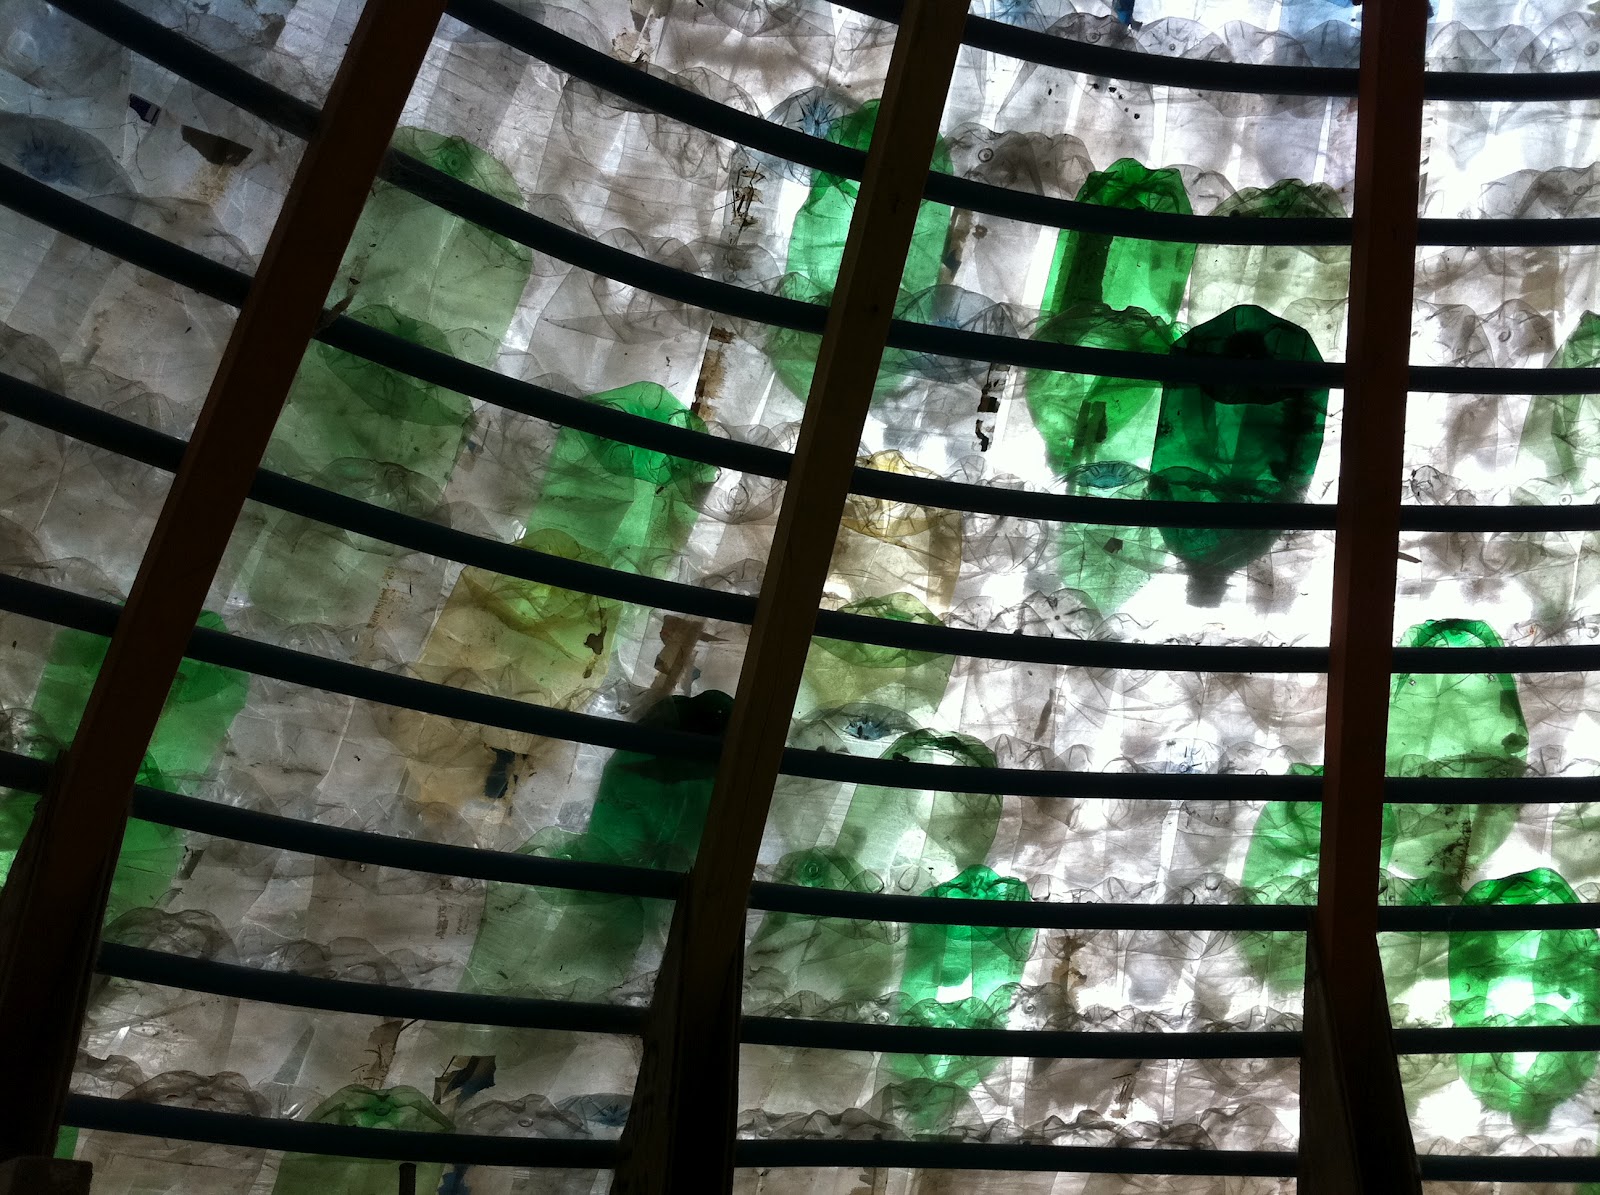
IDEA 2 : Reuse Plastic Bottle To Make A Roof.
In this climate you would not want to do your entire
roof with bottles as it would be too hot in this tropical sun unless you were making a green house or for aqua-ponics, but the picture to the left shows you an alternative
that provides lighting in your building during the day. Click on the image for more information.
If you use a corrugated steel roof you might want to try the next project.
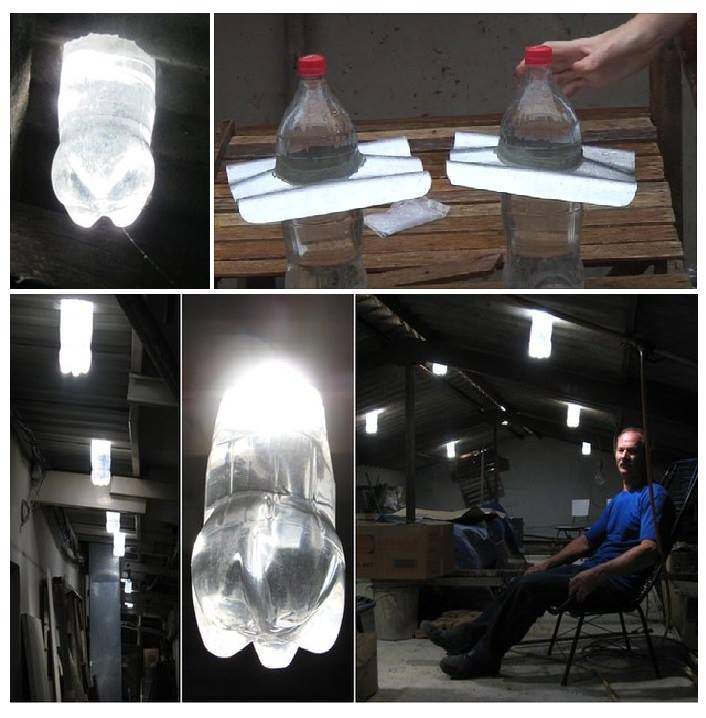
IDEA 3 : Reuse Plastic Bottle To Make A Solar Bottle Light Bulb.
This solar bottle light bulb is introduced by Illac Diaz of MyShether Foundation. I found this light bulb is special. So I would share this with you all. The operation of this solar bottle light bulb does not need electricity but the operation of this bulb is based on Physics theory, light refraction.
Why do we not make Perspex skylight? This is because a large amount of lights will enter inside such as chicken coop and increase the temperature inside the coop. So this solar bottle light bulb is the best way to emit light in maximum inside the coop instead of increasing the temperature. You can make it easily and attach it to the roof of your animal pen such as chicken pen. This light bulb can bright up your animal coop. This is a good idea for poultry farmers because they can use this light bulb bright up their poultry coops during the day. Therefore, they can see clearly during collecting the eggs after installation of these light bulbs. In addition, farmers can save their money because they do not need switch on the electrical light bulbs during the day. You can make this light bulb yourself by following the steps below.
1) Prepare one 1.5 liter plastic soda bottle, 1' X 1' roof sheet material, purified water, liquid chlorine and rubber sealant.
2) Fill the bottle with purified water. Then add 3 tablespoons of liquid chlorine and tightly seal the cap. Reminder : Do not use tap water because the water may contain algae spores and they will grow.
3) Make a hole in the root sheet material, just the same size of the bottle's circumference and insert the bottom part of the bottle. Leave it to be exposed under sunlight.
4) Make another hole on the roof of your chicken pen (same as bottle circumference) where you want to install the solar bulb and fix it firmly.
5) Seal the roof with sealant to prevent rain drops from entering the coop. It will emit light inside your coop.
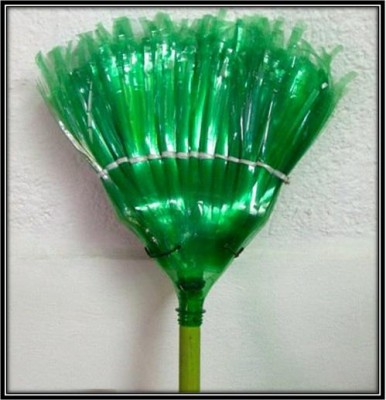
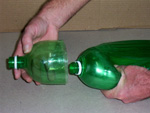
20 plastic soft drink bottles 2 liter PET broomstick scissors stylus awl wire hammer nails
STEP 1:
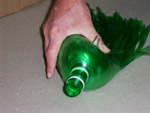
Remove the label and bottom of the bottle. Repeat this step with 19 bottles.
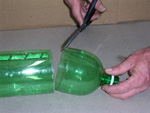
STEP 2:
Make cuts in the bottle up to the more rounded part creating strips approximately 0.5 cm wide. Do this to all 19 bottles.
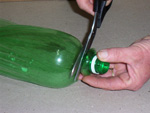
STEP 3:
Remove neck of the bottle. Repeat this step with 18 bottles.
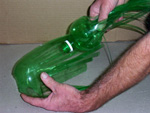
STEP 4:
Slide the cut bottles with no neck onto the one with it's neck remaining.
STEP 5:
Cut the top off another bottle.
STEP 6:
Slide it on to the piece from step 4.
STEP 7:
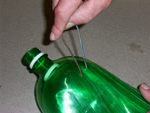
Drill two holes and insert the wire through all layers of bottles.
STEP 8:
Pull the wire to the other side and twist the ends to fasten.
STEP 9:
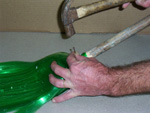
Secure parts with the aid of two nails to your handle.
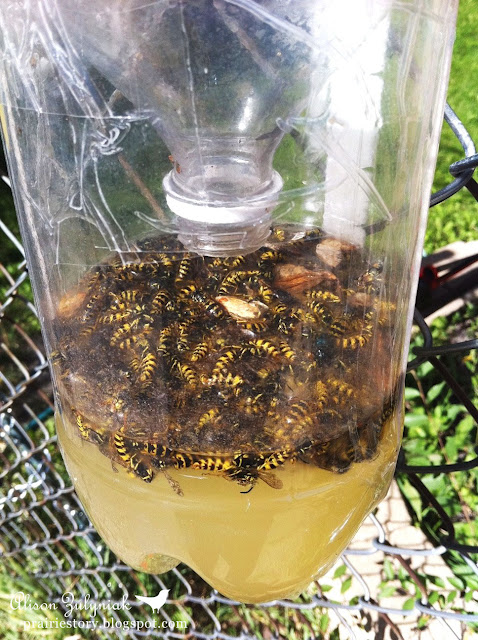
IDEA 5 : Reuse Plastic Bottle To Make A Flying Insect Trap.
You can make a flying insect trap by using a plastic bottle. The type of insect you want to trap will be dependent on what bait you put in it. After that, you do not need to spend money to buy aerosol insecticides to kill them. Besides, this can save the ozone layer as usage of aerosol insecticides is reduced.
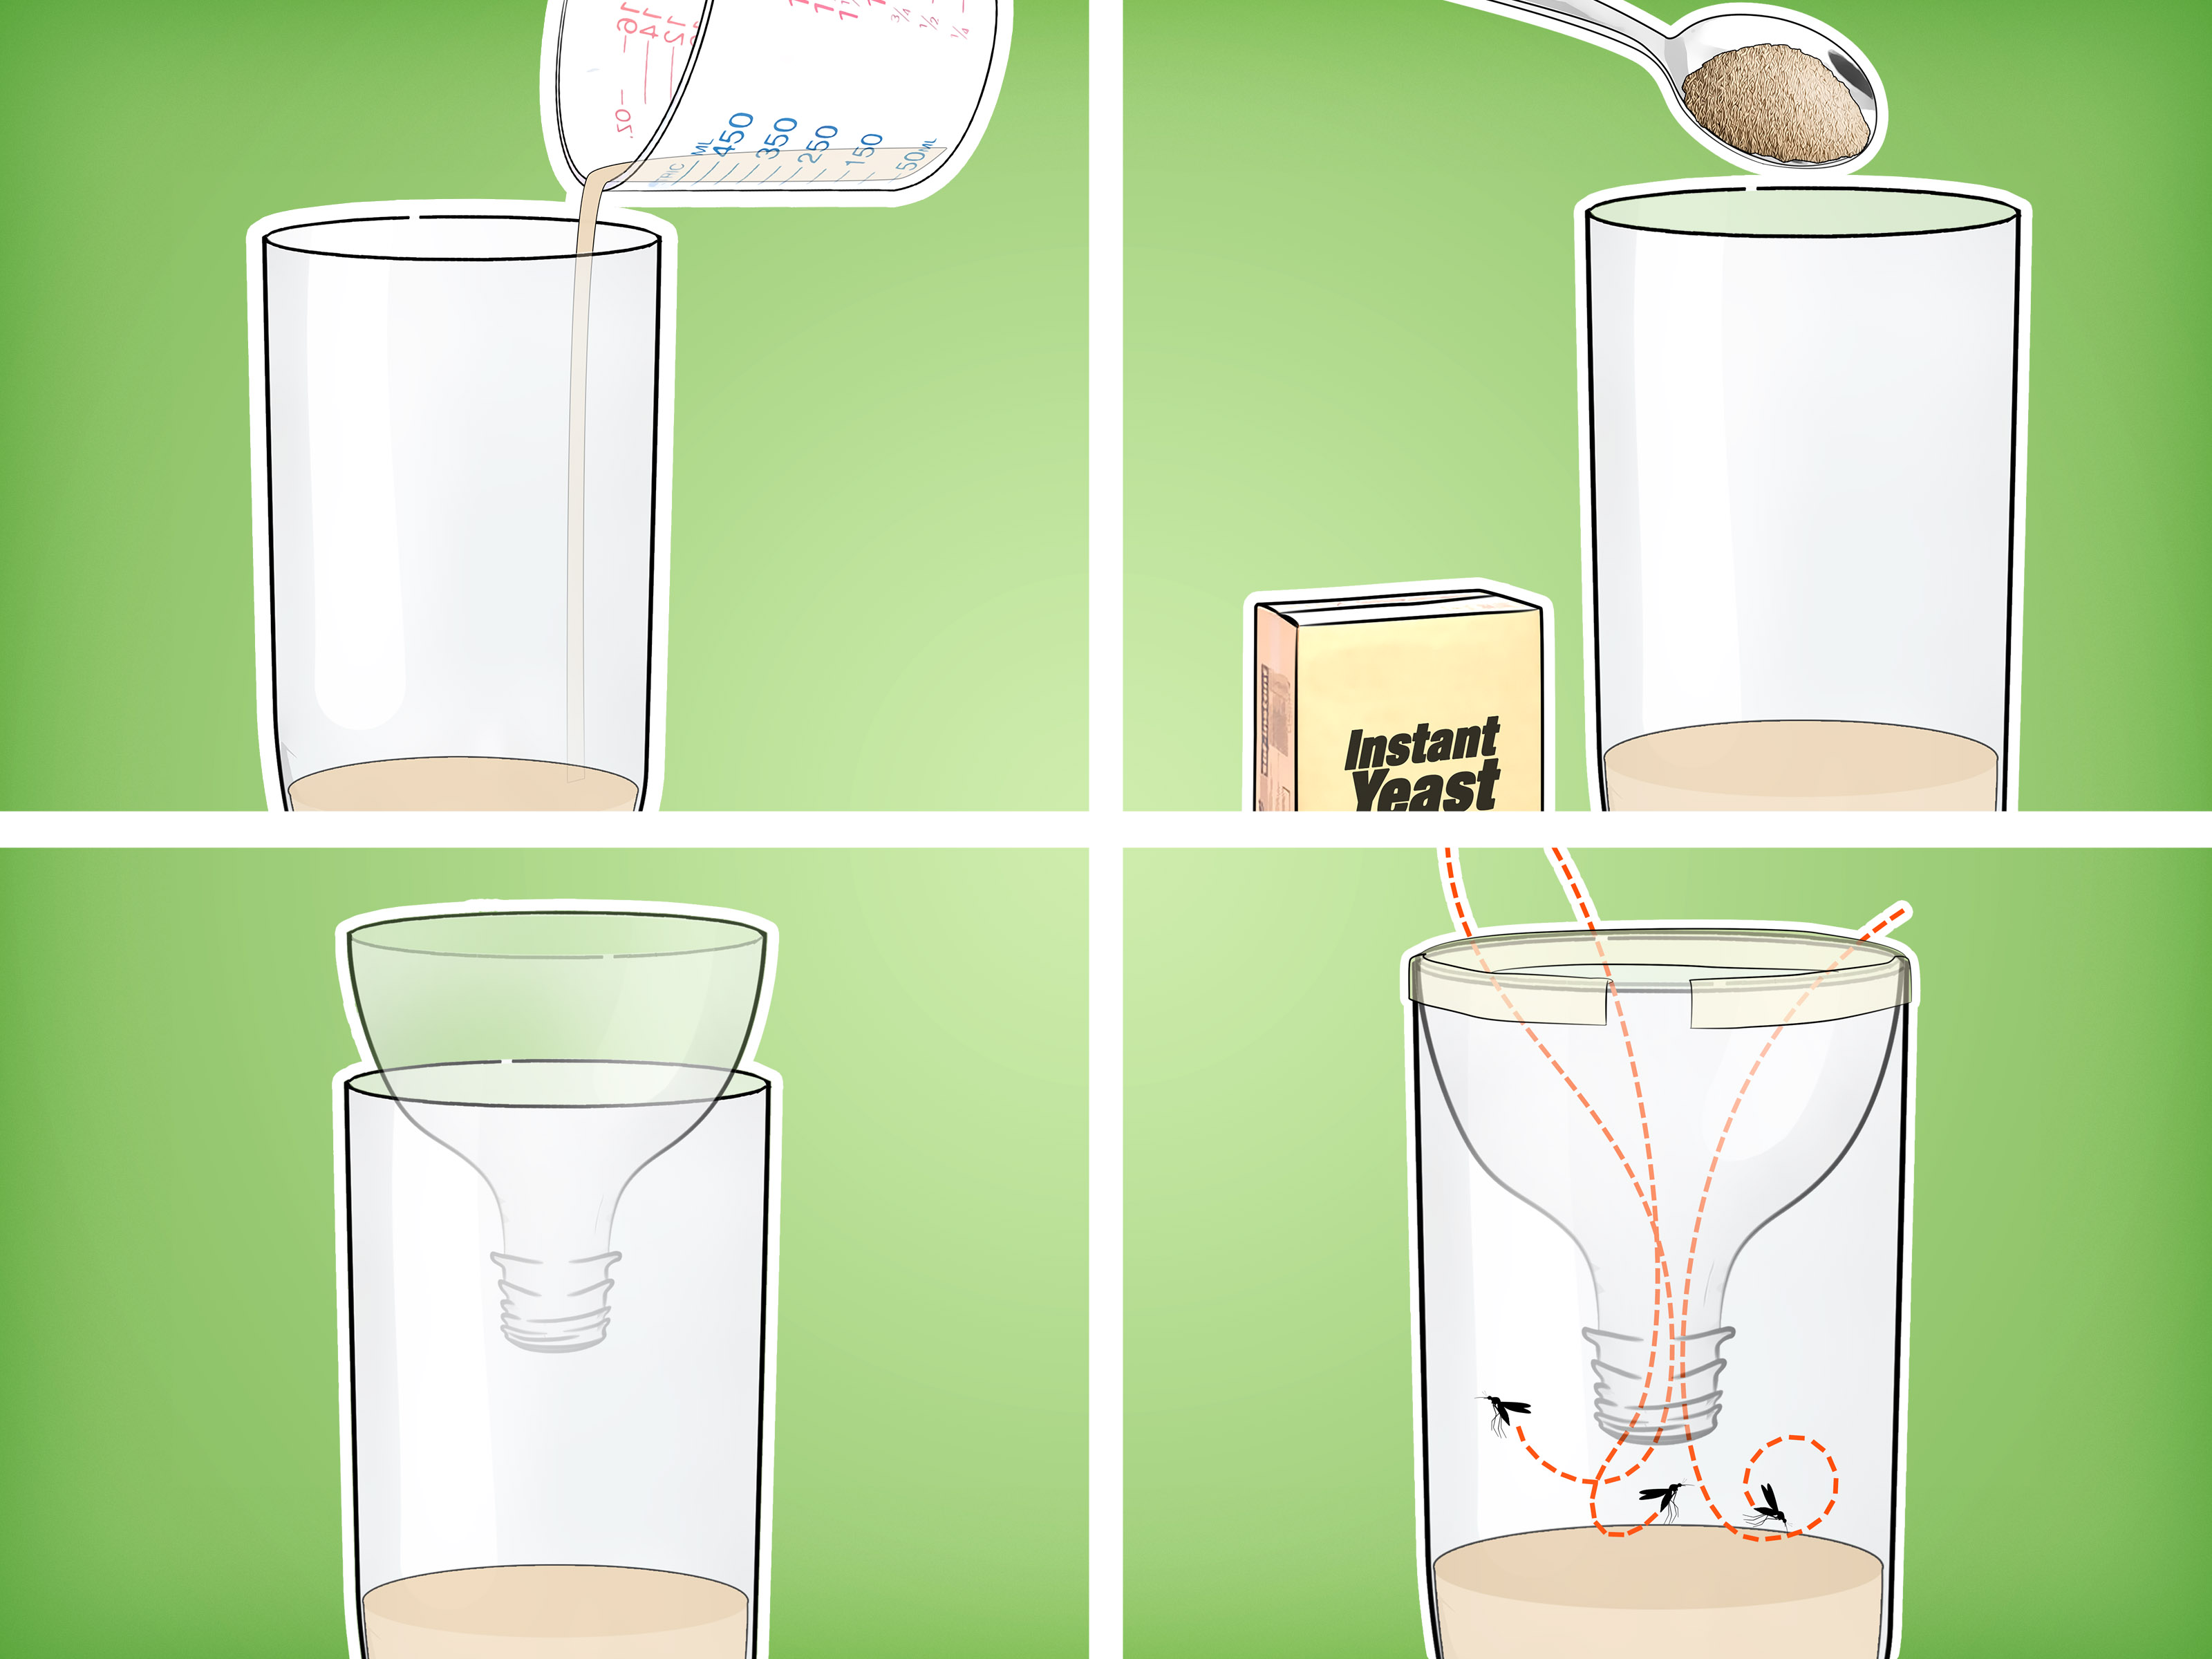
Steps of making a mosquito trap:
1. Prepare one plastic bottle, brown sugar, water and yeast.
2. Cut a plastic bottle in half, keep both parts.
3. Take the lower portion of the bottle. Dissolve the brown sugar in hot water. Let it cool down to ~70 degree F.
4. Add the yeast .
5. Cover the bottle with a black paper and place the top portion upside down like a funnel. Place it in a corner in your house.
6. In 2 weeks you will be surprised by the number of mosquitoes killed.
How do this mosquito trap work?
The brown sugar is the food for the yeast to make the yeast grow as much as possible. During the process, carbon dioxide is released just like human respiration. Then, mosquitoes will be attracted to the mosquito trap. In conclusion, this mosquito trap acts as a human.
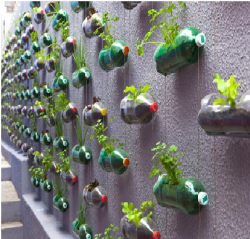
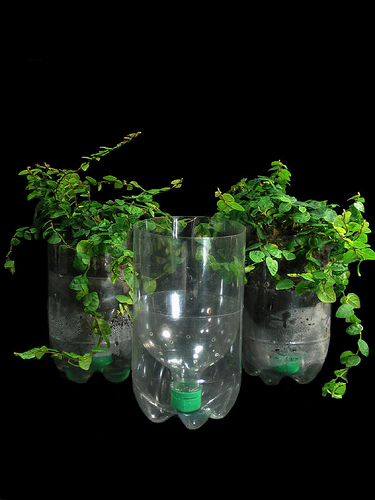
IDEA 6 : Reuse Plastic Bottles To Make Vegetable Planters.
There are thousands of ways you can repurpose bottles as planters that take very few tools and talent. You are only limited by your creativity. You can make planters using plastic bottles and plant lush green vegetables such as lettuce and many more. You also can hang the planters on the wall as decoration as shown in the picture. For directions on how to make the self-watering planter, click on the third image of them.
Steps:
1) Prepare plastic bottles, string, small knife, puncher, soil and seeds.
2) Make an opening on the body of plastic bottles. (As shown in the pictures)
3) Punch some holes at the bottom of the plastic bottles to allow excess water to flow out.
4) Punch two holes at the opening and tie the string.
5) Fill the plastic bottles with soil and sow some seeds.
6) Hang the vegetable planters on the wall carefully.
7) Harvest your vegetables on time.
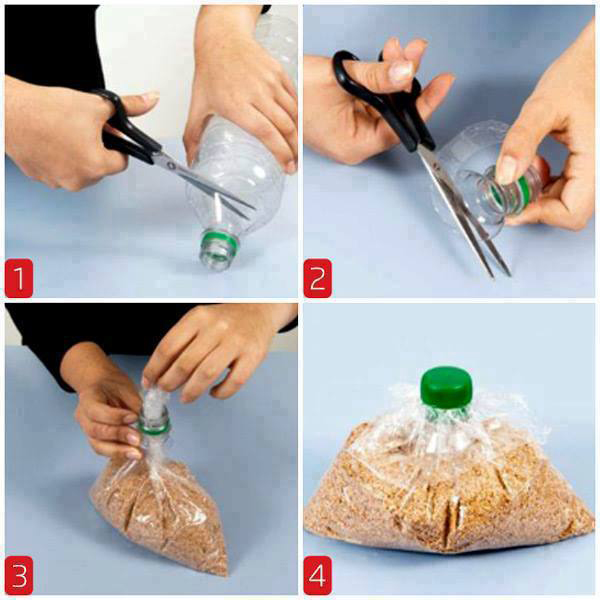
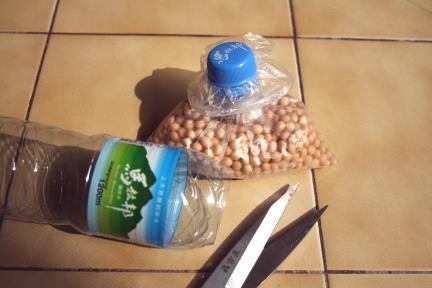
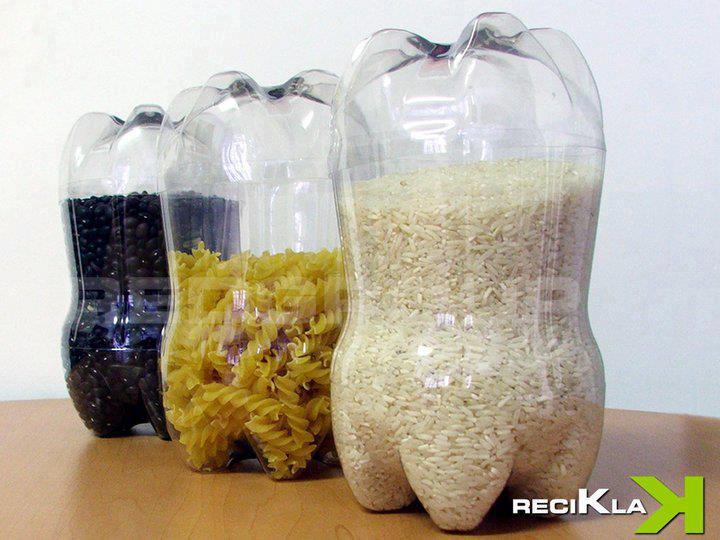
IDEA 7 : Reuse Plastic Bottles To Tight Plastic Bags.
Sometimes we are troubled in detaching rubber band at the opening of plastic bags. So, we can use plastic bottles to seal plastic bags which containing dry food. This prevents the food from exposing surrounding air to avoid food decay. After that, we can easily to take our food out from plastic bags.
Steps :
1. Cut the top part of the bottle which is near to the ridge.
2. Pull plastic bag through the opening of the top part of the bottle.
3. Drape the plastic over the sides.
4. Put the plastic bottle lid over the bag and seal it.
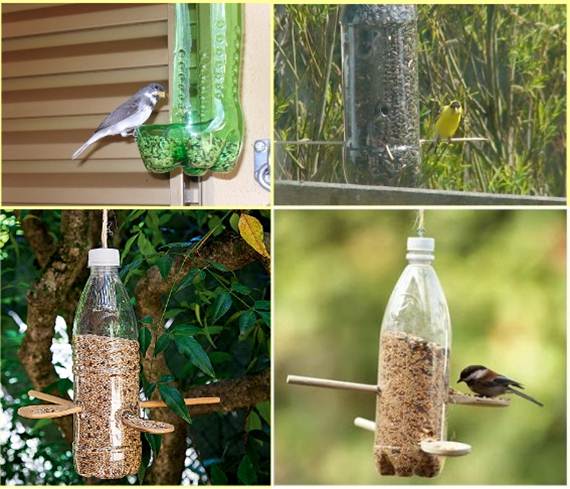
IDEA 8 : Reuse Plastic Bottles To Make A Bird Feeder.
You can use a used plastic bottle to make a bird feeder during the holidays. Various type of birds will attracted. At the same time, you can use your camera to snap photos of them. Then, you can upload the photos to any social network such as Facebook and get likes from your friends.
Steps:
1) Prepare a plastic bottle, a plastic plate, hot glue, string or wire, scissors, knife and wild bird seeds.
2) Remove any label from the plastic bottle and clean it with soap and warm water. Then, cut the bottom half of the bottle off using a sharp knife.
3) Cut a small dome shaped area from the bottom of the cut bottle. This will be the opening where the bird seed comes out.
4) Get your plastic plate ready and using the hot glue gun. Run a line of glue around the bottom of the bottle but do not glue the dome shaped section.
5) Firmly affix the bottle to the 'eating surface' of the plate, directly in the middle. Hold the bottle down for a few minutes to ensure that the glue is dried.
6) Poke 2 holes carefully through the top of the 2 liter bottle using the scissors. Then, thread your wire or string through the holes and tie it.

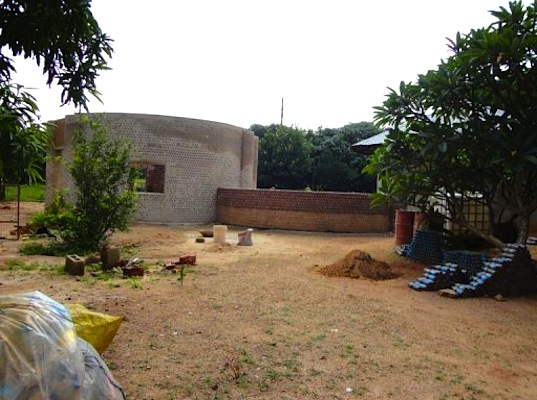


 You can make bottle bricks easily anywhere you can find the materials and have help. This bottle construction technology can be used in building of green house, big flower pot, fence and many others. I would share the steps of making a beautiful fence wall in your garden here. The materials that you are needed are plastic bottles, sand or fine dirt and string.
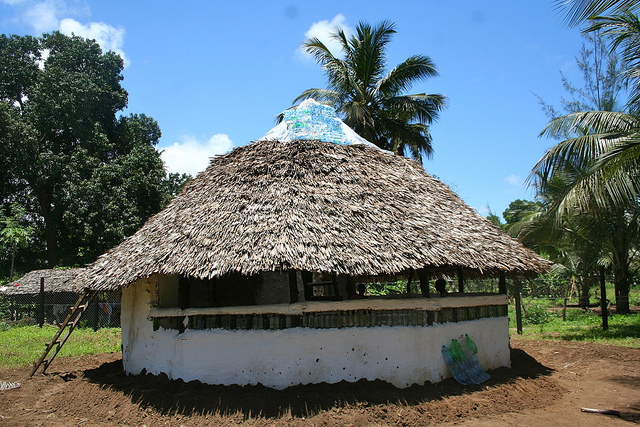
 This solar bottle light bulb is introduced by Illac Diaz of MyShether Foundation. I found this light bulb is special. So I would share this with you all. The operation of this solar bottle light bulb does not need electricity but the operation of this bulb is based on Physics theory, light refraction.
 20 plastic soft drink bottles 2 liter PET
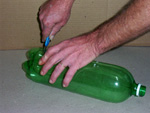

 You can make a flying insect trap by using a plastic bottle. The type of insect you want to trap will be dependent on what bait you put in it. After that, you do not need to spend money to buy aerosol insecticides to kill them. Besides, this can save the ozone layer as usage of aerosol insecticides is reduced.